Manage your Smart Mirror with smartmirror-console
Overview
A Smart Mirror can be overloaded with multiple services and utilities to serve different functionalities, but, like any other software product, this have to be shaped into its final user needs. For that, the smartmirror-console comes in handy, as it provides a high-level interface to configure all Smart Mirror packages and services.
Ingredients
The mandatory ingredients to follow this recipe are:
- A PC with a browser installed.
- A Raspberry Pi 4, or RPi4, either connected to the same network as the PC, or with a public ID address.
- The package
smartmirror-consoleinstalled on your RPi4, which is available in ARCO package repository. Be sure it has the version0.20210510+ds.1or higher.
Start the environment
To access the console, open the PC browser and write the RPi4 address, its IP address or a public one if it has any. It is required to specifiy the port to access to, which is 5000. This is done by preciding the port number with a colon.
For example, if the RPi4 has the address my-smartmirror.com, the console address will be http://my-smartmirror.com:5000.
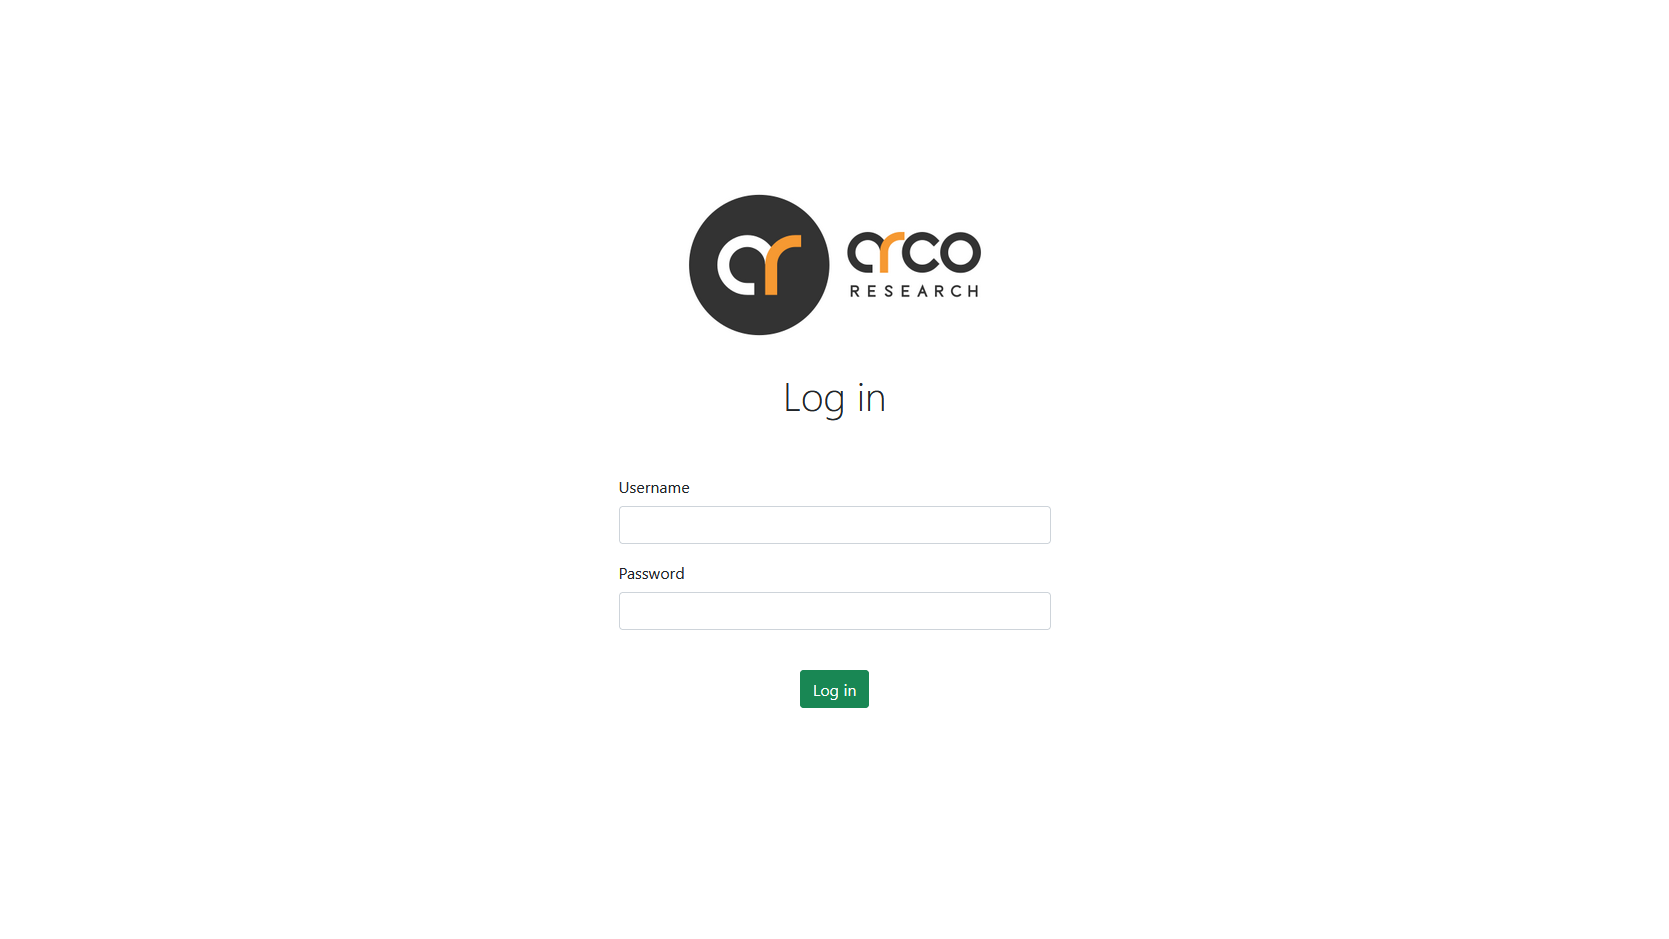
Then, a login page will be shown. Credentials will be admin for both username and password for the first time using the application, followed by other form asking to change the default password. So, from that point, username will remain as admin, but it will be used the new setted password, so be sure to remember that password!
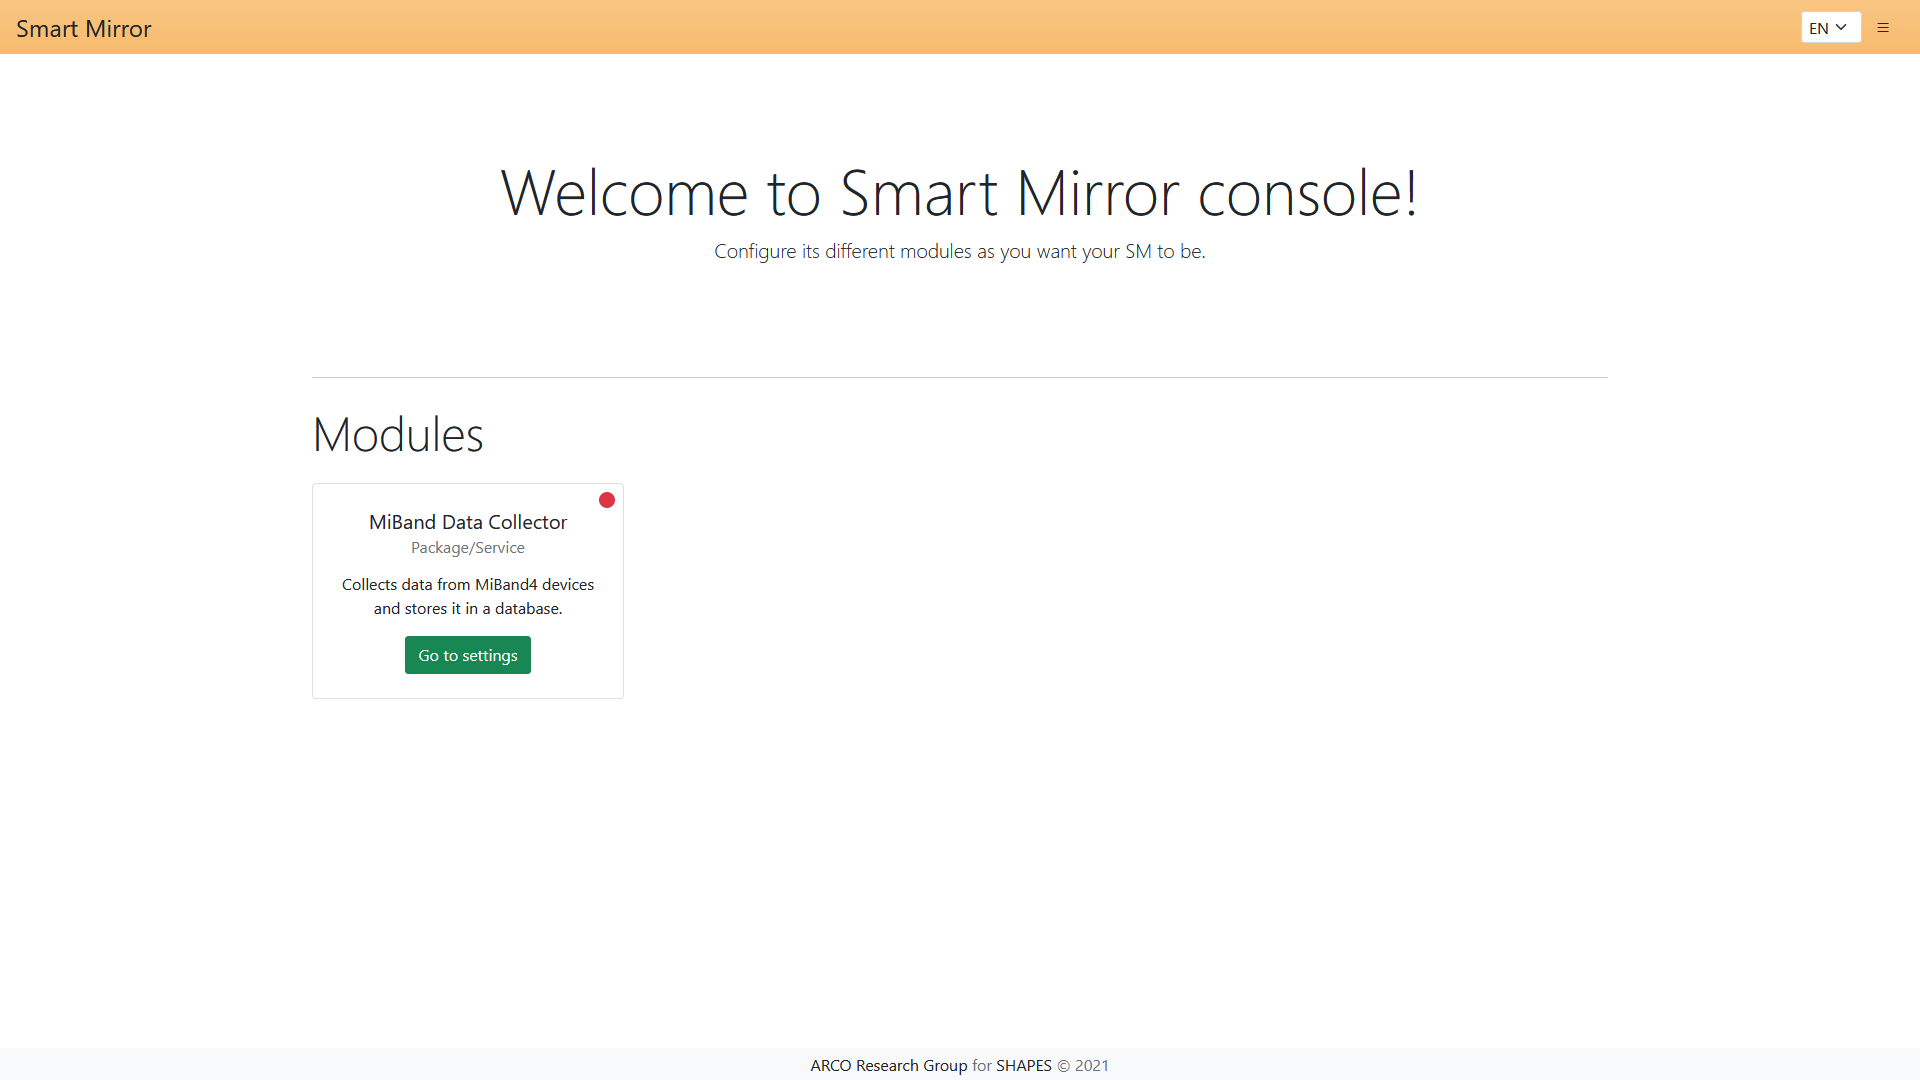
After logged in, it will appear the main page, where all available and configurable modules will be shown. There is only one module available right now, which is the Mi Band 4 Data Collector. This one, and further added modules, will be explained in the following sections.
Modules
In this section it will be explained how to configure each one of the Smart Mirror modules.
Mi Band 4 Data Collector
This section explains how to configure the Mi Band 4 Data Collector module, that refers to miband-dc debian package.
It can also be managed using its low-level interface, through configuration files. To know more about this, read miband-dc manual page or Configuring miband-dc section at Integrating Xiaomi Mi Band 4 devices with Smart Mirror.
Ingredients
The specific ingredients to complete the steps detailed in this section are:
- If Mi Band 4 Data Collector is not installed, do it through
smartmirror-consoleinterface. - A PostgreSQL database with remote connections allowed, either by using a provider on the cloud, or by doing a manual installation. If the latter is chosen, please read Appendix 1.
- Mi Fit application installed on a mobile device (Android or iOS).
- One or more Mi Smart Band 4 devices, or MB4.
Settings
Go to the settings page of the Mi Band 4 Data Collector, in which there is a side menu displaying settings sections. Also, at the top of the page we can see the version of the package and several buttons which change the package status: start or stop collecting, install or uninstall the package, and inspect the service (show logs).

Let’s review each one of the settings sections.
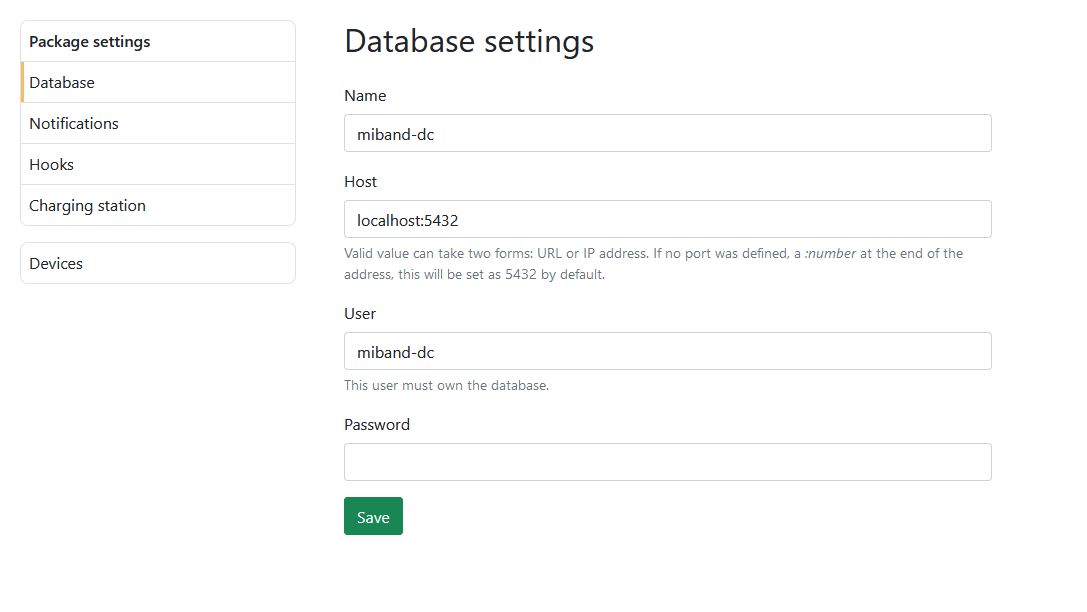
Database parameters
The data collector stores all information collected in a database. In order to use it, please complete the form with its connection parameters and click “Save” button.
Warning!
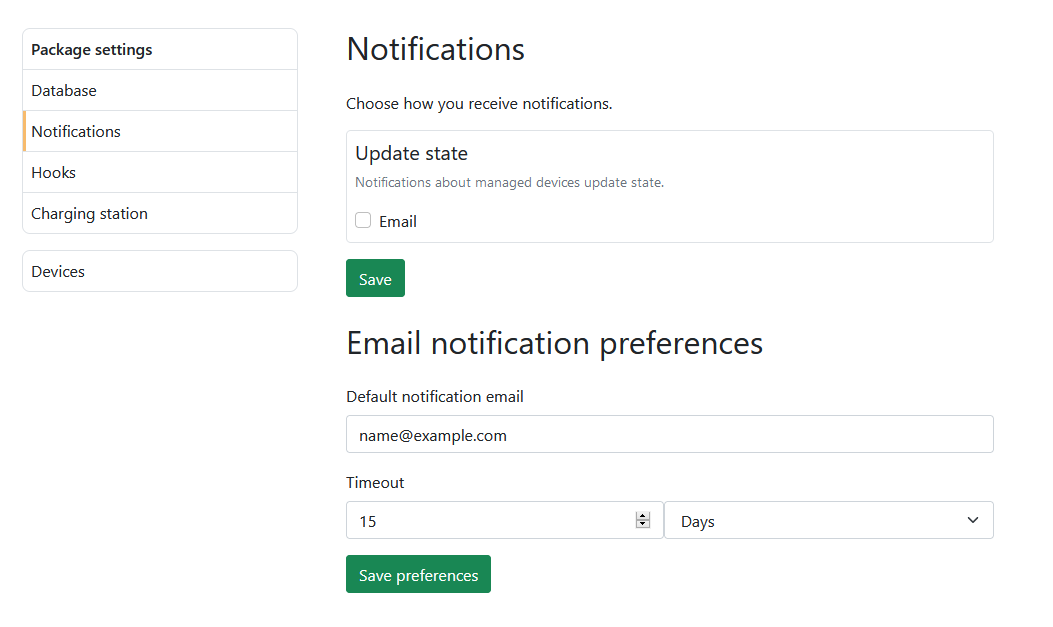
Notifications
The service miband-dc, the data collector, can notify the user, if the user wants to, about some internal information. This can be done by setting an e-mail address and a time interval. This data will be stored by the console, but, if selected, used by the data collector. To enable a notification, select the desired notification types and click “Save”.
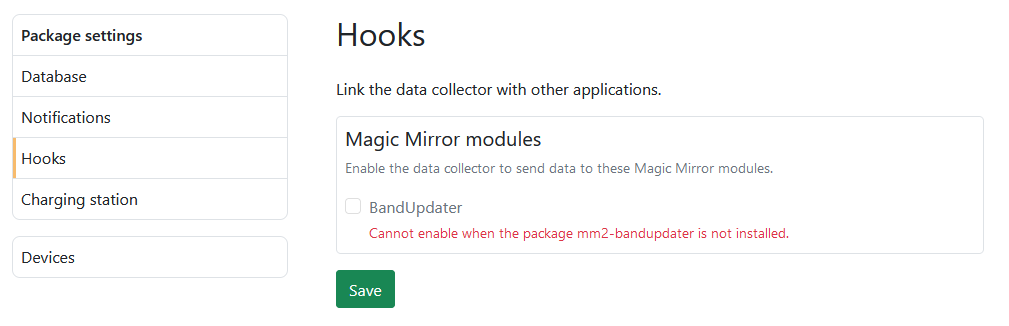
Hooks
This service can be linked with Magic Mirror, magic-mirror-2 package, through its modules. To do so, make sure you have installed the aforementioned package and the required modules for each hook. To enable a hook, just select it and click “Save”.
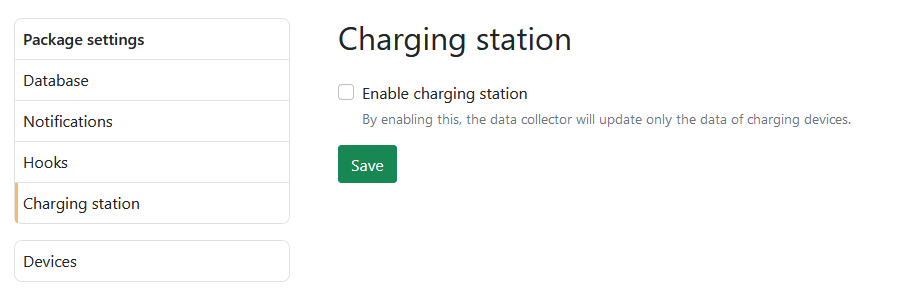
Charging station
To ease the data updating process, the data collector can perform, if configured, as a charging station. This mode pretends to simulate an updating station, where users leave their devices charging while data is being stored, resulting in a less aggressive communication. To enable it, select the option and click “Save”.
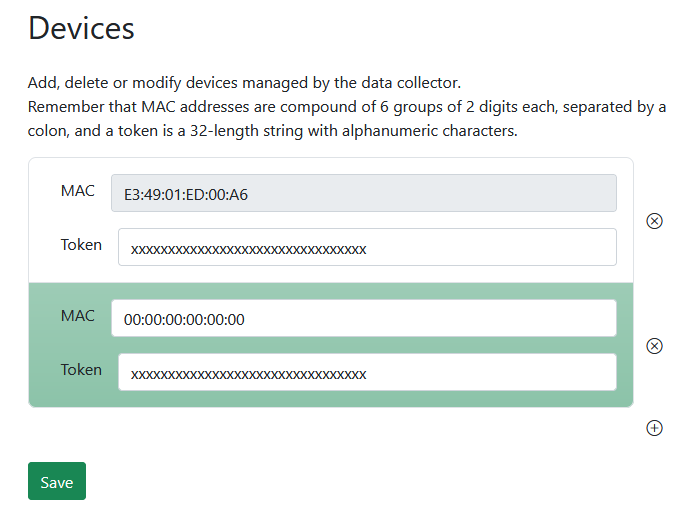
Devices
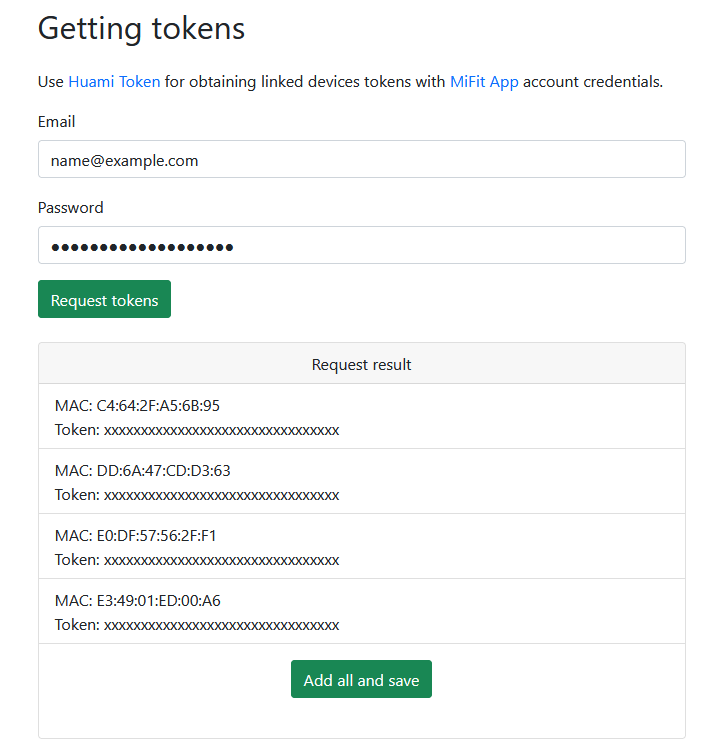
In order to pair your MB4 devices with the data collector, you must link them to a Mi Fit account. To do so, follow the steps of Appendix 2.
To add all linked MB4, go to the Getting tokens section. Fill the form with your credentials and click “Request tokens”. After some time, a list containing your devices data will appear. Finally, click “Add all and save”.
Also, you can manually add a device to the data collector providing a MAC address and an authentication token. Click on the “Add” button, with a “plus” icon, to add a new device. After providing the required information, click “Save”.
Warning!
Resources and useful links
- Integrating Xiaomi Mi Band 4 devices with Smart Mirror
- Magic Mirror
miband-dcmanual page- Mi Fit application (Android or iOS)
- Mi Smart Band 4
- PostgreSQL
Appendix 1. Manual installation of PostgreSQL
Install PostgreSQL following its instructions. Then, you need to modify two configuration files: postgresql.conf and pg_hba.conf.
The first one, postgresql.conf, can be found by executing SHOW config_file with the PostgreSQL client psql. Once found, modify the parameter listen_addresses to *. If the line containing this parameter is preceded by a hashtag, remember to delete this character. For example, in a Linux environment:
user@linux:~/$ sudo su postgres -c "psql -c 'SHOW config_file'"
               config_file
-----------------------------------------
 /etc/postgresql/12/main/postgresql.conf
(1 row)

user@linux:~/$ [ ... modify file ... ]
user@linux:~/$ sudo grep -n listen_addresses /etc/postgresql/12/main/postgresql.conf
59:listen_addresses = '*'
The second configuration file, pg_hba.conf, can be found searching for the parameter hba_file in the first one, postgresql.conf. Once found, and following this file format, add the following lines:
# TYPE  DATABASE        USER            ADDRESS                 METHOD
host    database        user            samenet                 md5
Replace database and user with its respective values for the data collector. Both values are miband-dc in this recipe, section Database parameters. Also, replace samenet with your PostgreSQL host public IP address if it is not running on the same network as the RPi4 with the data collector.
Appendix 2. Configure Mi Band 4 devices with Mi Fit application
First, create an account for Mi Fit application and log in.
Warning!
Link the devices following the manufacturer instructions. If you add multiple devices, you will be asked to “deactivate” your previous band, as there cannot be two active devices of the same type. Ignore this warning, as it is only important to link the device with the account, not the “active” state.
Each time you add a new device, go to Profile > My devices > Active band > Heart rate monitoring and set:
- Monitoring method to Automatic heart rate monitoring and sleep assistant.
- Detection frequency to less or equal than 10 minutes.
- Enable Activity monitoring.
Once done, it is important to turn off the Bluetooth of the mobile phone you used to activate the band, as it will interfere with the communication between the data collector and the active band. If you need to enable the Bluetooth, just make sure that you place the MB4 far away, if possible.